

Since starting Traveling Seouls, migrating old travel posts from several of my other websites, I decided that it was time to organize my graphics to create a cohesive look. This meant making a graphic that had the same look and feel, giving it a signature Traveling Seouls look.
At first, I started with this graphic:
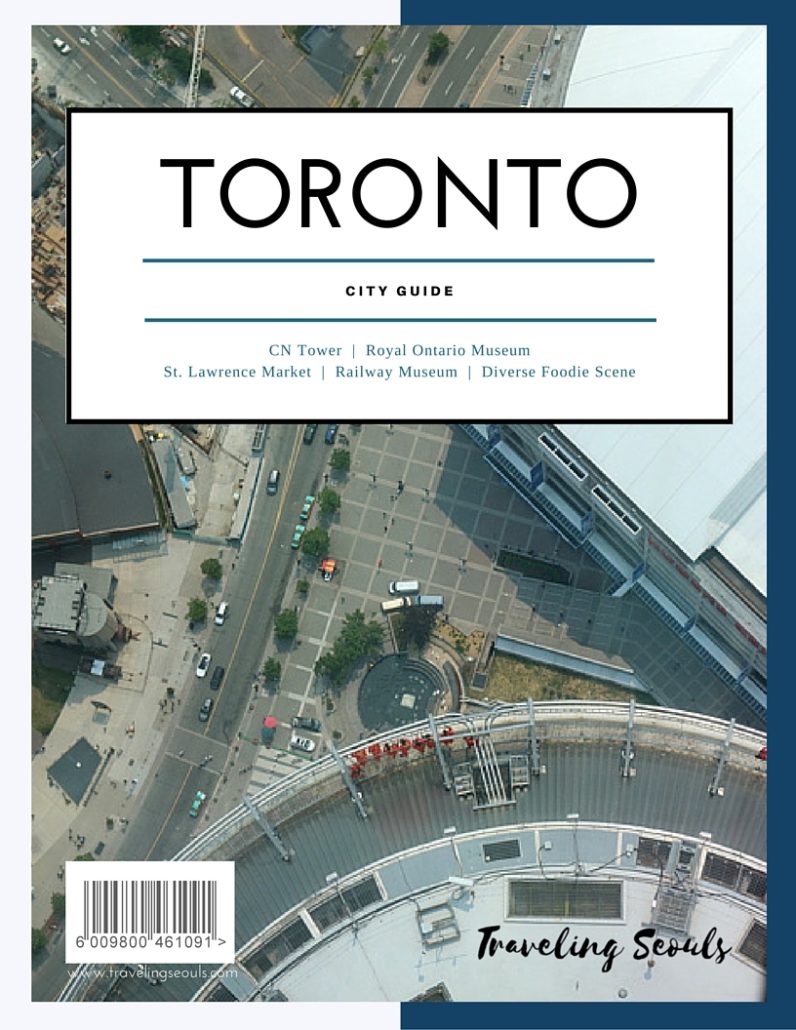
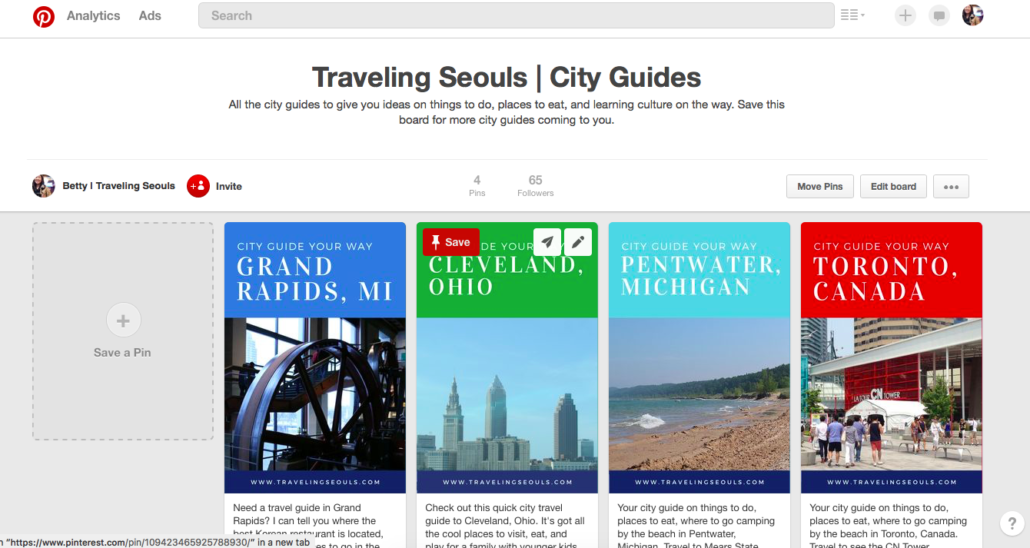
Looks cool, right? It’s got a magazine cover layout and details content inside the city guide page. However, when you start to use the graphic as an Pinterest icon, it looked like this on my Pinterest board:
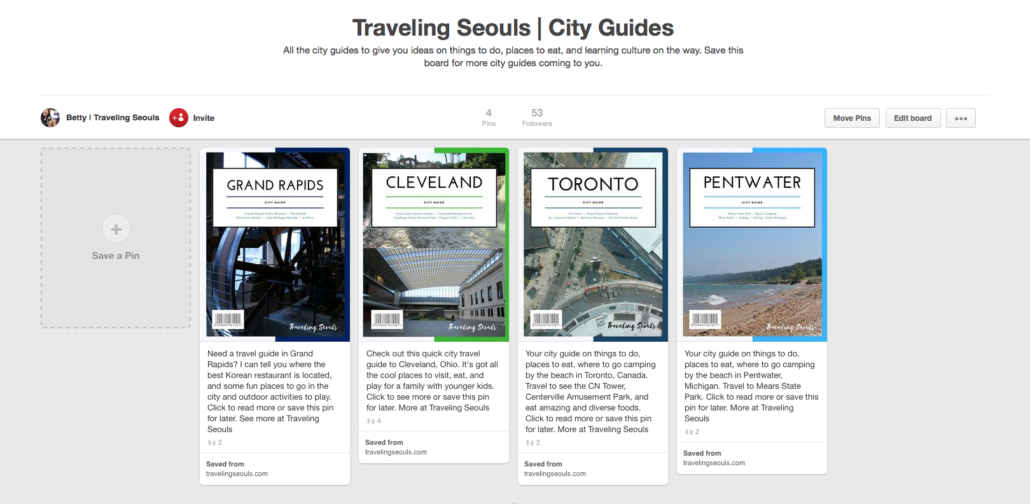
Tiny, right? It’s hard to see any details in the subtitle headings, which makes it visually unappealing.
Thus, I started over.
How to make a Visually Appealing Pinterest Graphic:
Before you begin, choose your program (Canva, PicMonkey, Indesign) to make your graphics.
All of these programs will work, but you have to choose your budget and price point. For example, I have used Adobe InDesign for my commercial photography work for a restaurant. It’s a GREAT tool, but costs $19.99 per month to use Adobe’s program.
If you are on a budget for your travel website, I highly recommend using Canva. They have templates that you can use and make it your own. That’s how I made each one of my travel post Pinterest Graphics.
From here, I’ll be sharing how to make your graphic using Canva:
Step 1. In Canva, click on the + icon to choose your dimensions.
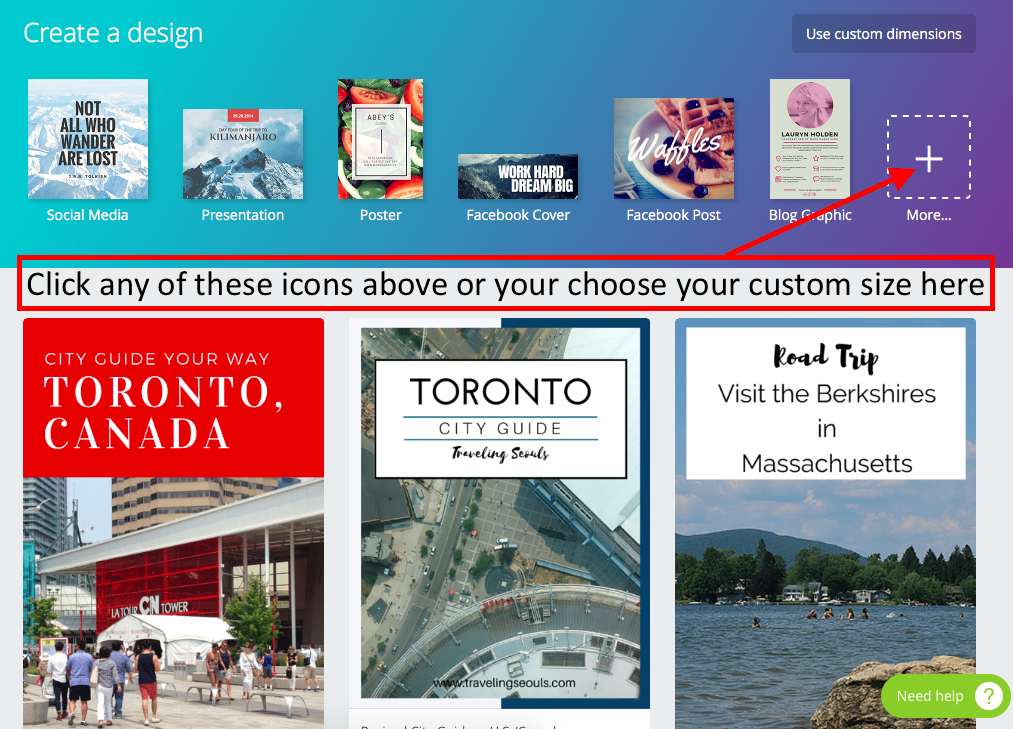
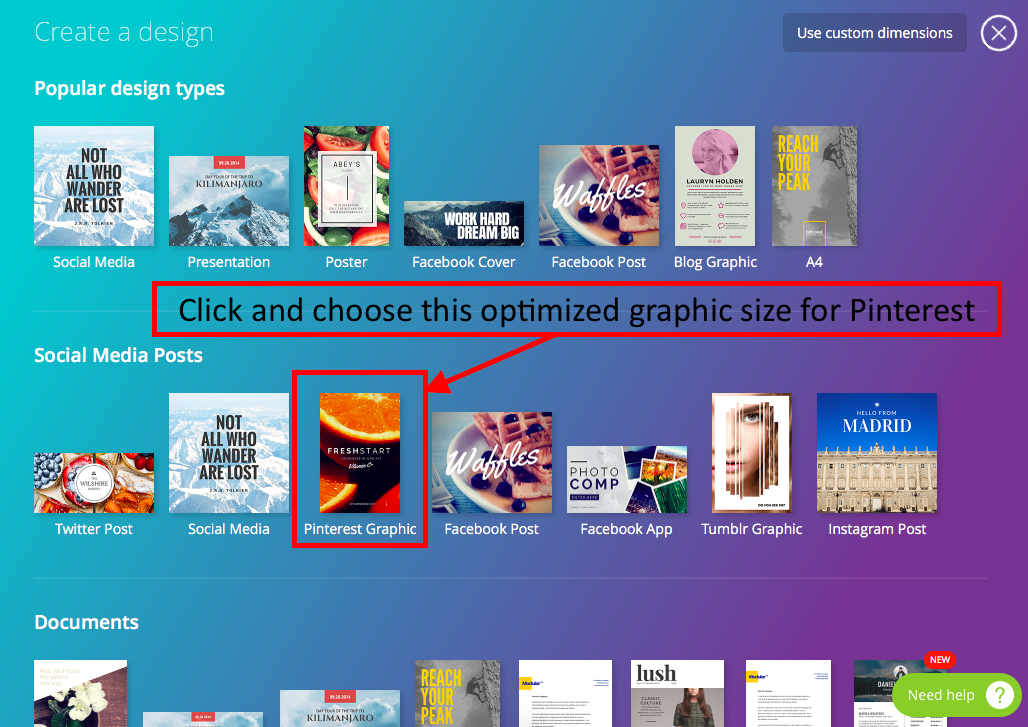
Here, I am choosing Canva’s Pinterest Graphic icon, sized at 735px x 1102px.
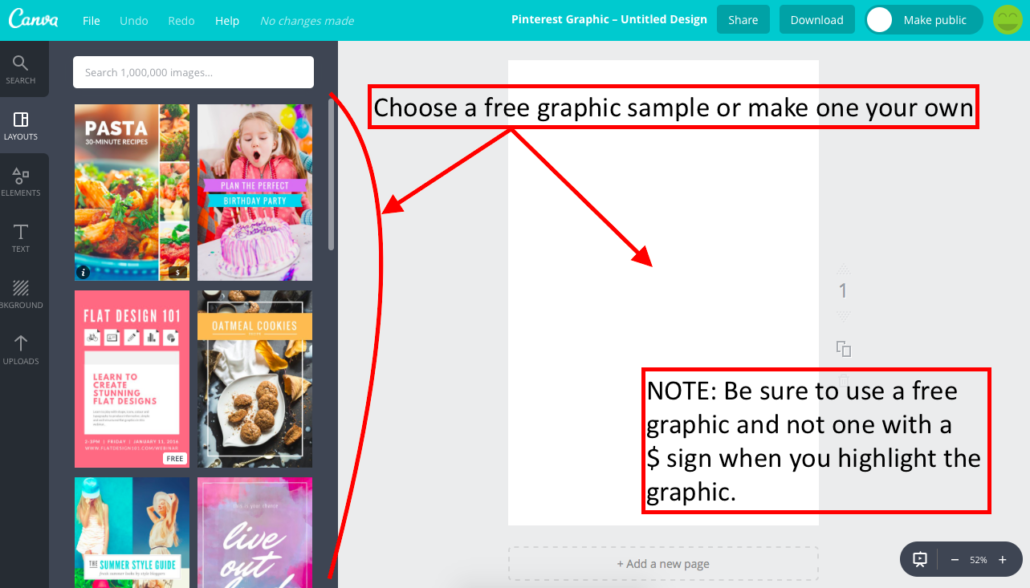
Step 2. In the Layouts section, you can choose a free graphic sample or start completely from scratch.
I prefer to use a free graphic design and then making it my own, but the choice is your’s. Also, be aware of which graphic you choose. Some graphics have a fee. You can highlight the graphic and see whether it’s free before using the sample graphic.
Step 3. Change texts.
Take a look below, and see the areas where I changed the text, such as:
- Title of the graphic
- Main graphic title (ex. 25% off)
- Subtitle text (ex. 06/22-06/26)
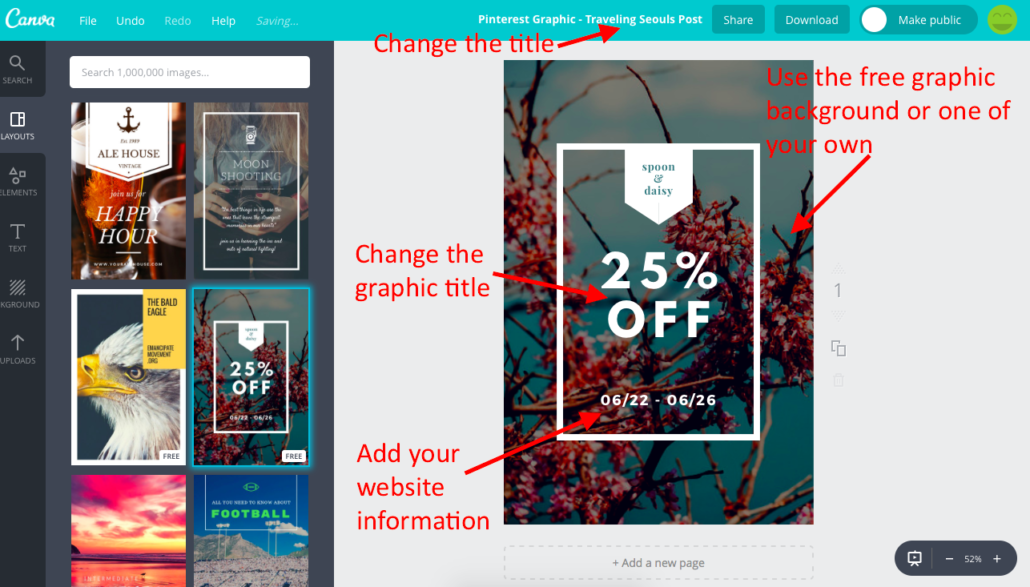
Step 4. Choose your main background image.
I chose to upload my own image. Here, you will see that I used a portrait-sized image. In Pinterest, vertical images reign. When you go out photographing an event or on travel, be sure to take a vertical shot. Otherwise, you will be meshing multiple square (aka Instagram-styled images) or landscaped-sized images, which can either strengthen or make your Pinterest graphic messy to look at.
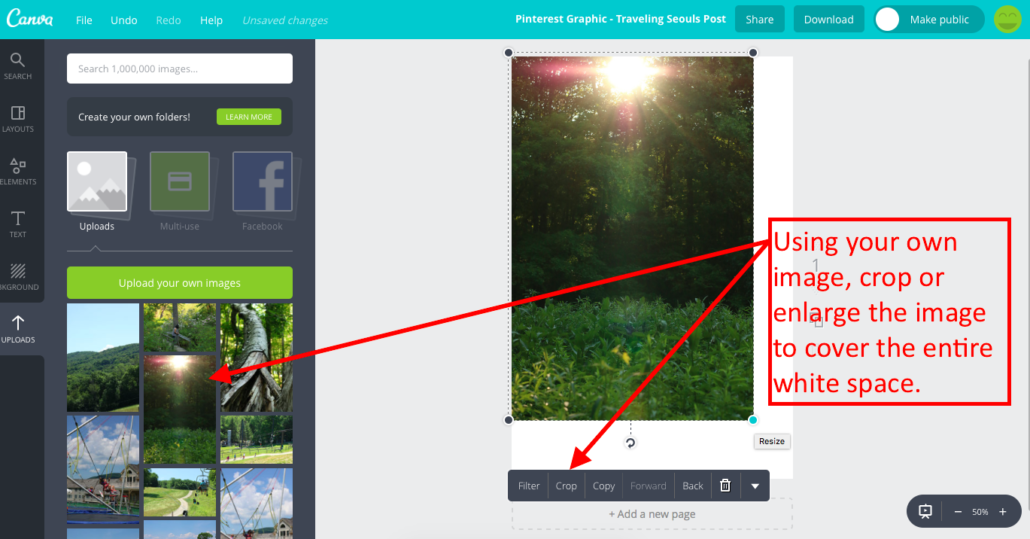
Once your image is enlarged, your text/logo graphics will pop up above your main background image.

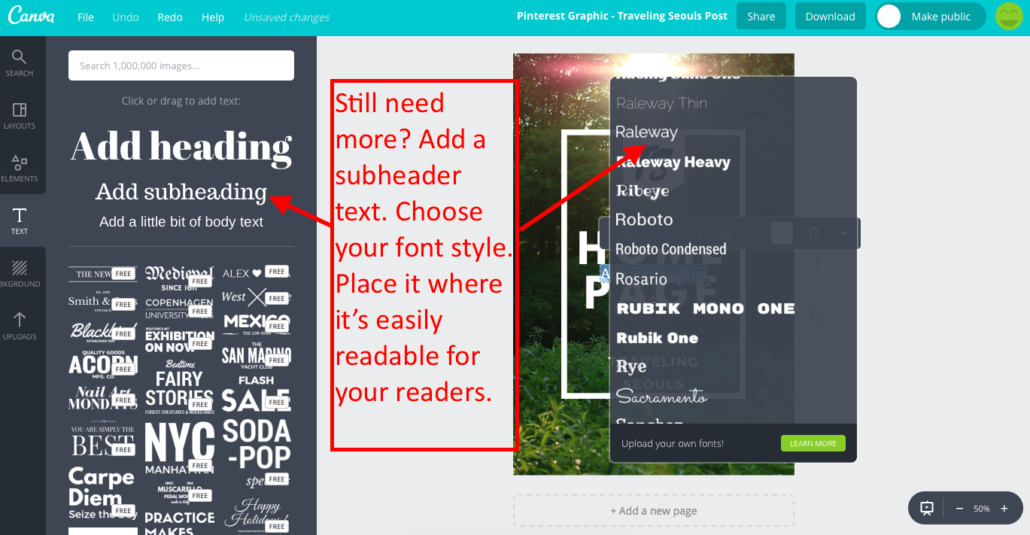
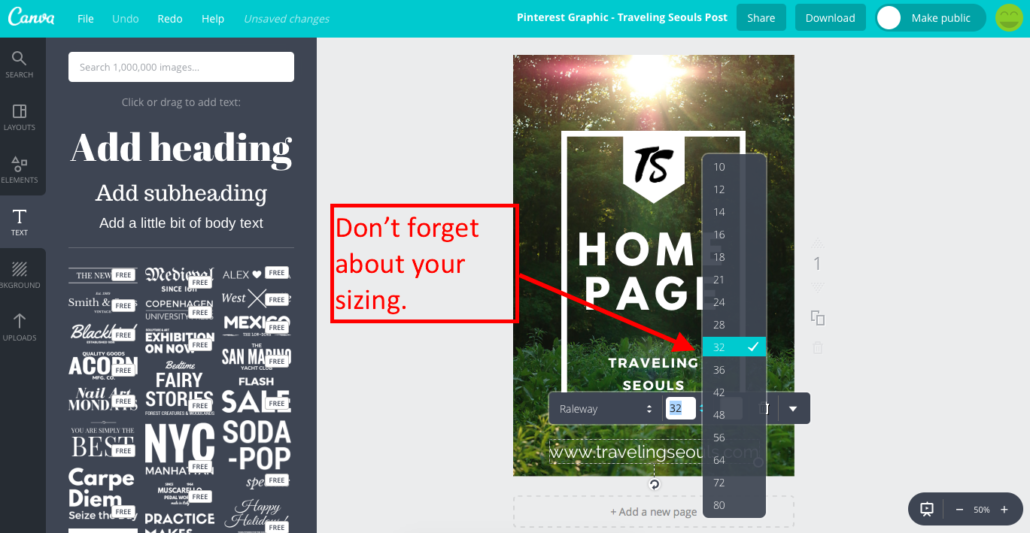
Step 5. Add/customize your graphic.
In step 4, the graphic looked pretty bare, which is fine if your readers know that your site is called Traveling Seouls. However, since I am newer site, it helps to give your readers a website address to follow your work. In the text section, I added a subheading, changed the text and size to fit it within the frame of my graphic.
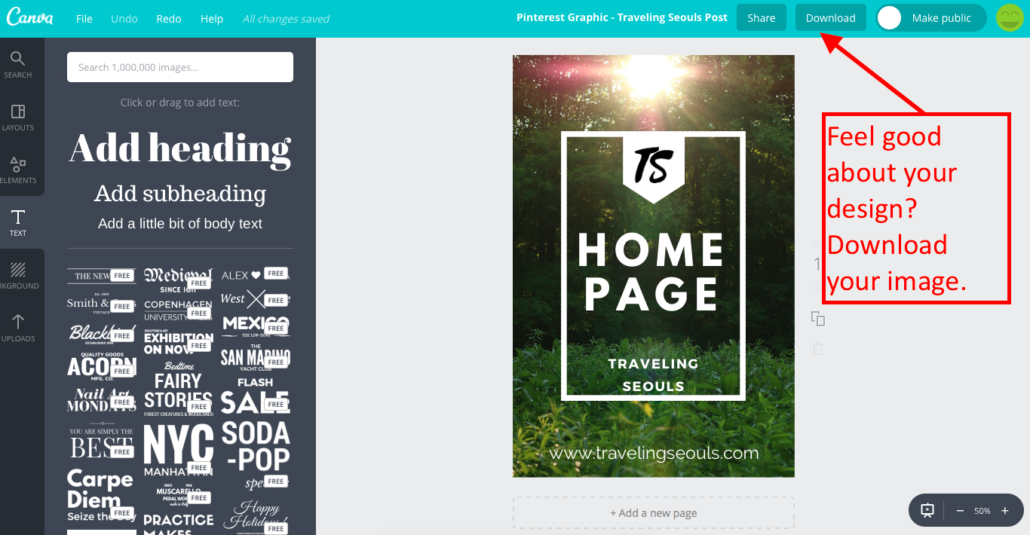
Step 6. Download your Pinterest graphic.
Feel good about your design? Go ahead and download it.
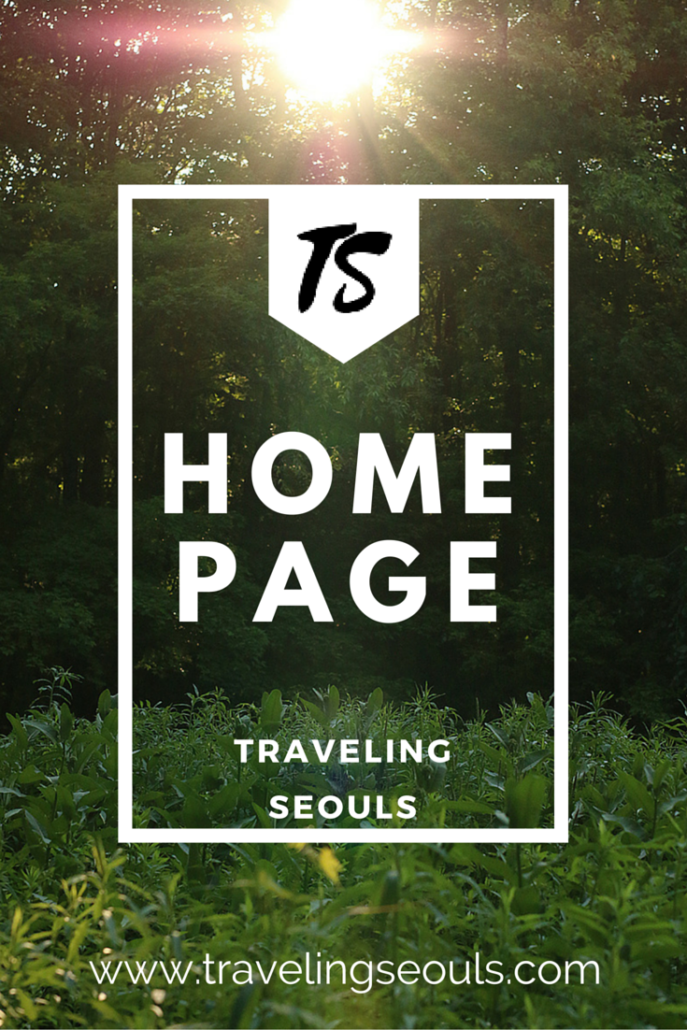
Step 7. Voila! Design complete!
Best Part About Making This Graphic:
Let me tell you why I like making these graphics. These graphics can be used for other things. I have used them as stand alone graphics (in 200px x 300px) to showcase related articles at the bottom of my post. These graphics are large enough to share them on Facebook. (You won’t get pixelation as these graphics are larger image files.) I create Photo Album folders on Facebook with these images to make sure that I get more exposure on my other social media accounts. You can also post these images on Twitter as well. The possibilities are endless, except for Instagram, when images are coveted as a 1:1 square ratio. Thus, I prefer keeping my IG photos at the recommended 1080px x 1080px.
Some Additional Suggestions:
Tip 1. Be aware of size dimensions.
In my sample, the TS icon (in black and white) is pixelated, which means when I enlarged the image, it started to lose its image quality. You may need to make your logos larger, so that it will look better in your Pinterest graphics. (Remember, 735px x 1102px is quite large for some of those favicon icons, like the one I used in my image.)
Tip 2. You can make multiple copies of your image within your document.
In Step 5, you can see two rectangles overplayed on top the other, which is the icon to make a duplicate of your image. That’s what I use when I want to make multiple versions of the same text and font style, but want to try a different background image.
Tip 3. Organize your graphics.
Once you start making several graphics, your Canva board can look messy. Canva gives you two free folders to organize your graphics. I don’t want to have to pay a monthly fee quite yet, so I am going to live with a messy graphics board and disorganized uploaded images section. To stay organized, I label each the same way and keep the final version stored on my hard drive or cloud storage.
Tip 4. You can make other graphics using Canva’s other preset dimensions or customize your own.
Think Instagram posts with texts, magazine covers, pamphlets, menus for restaurants, etc. The list of graphics is endless.
What do you think? Check out and see how my Pinterest graphics (On the Blog Board | City Guide Board) have a cohesive look. Let me know if you have any questions, let’s work on making cohesive Pinterest boards our goal.